
My research on how to make Instant Pot Beef Bone Broth
Although I have been making broth for years on the stove, I recently decided I wanted to be able to do it quicker using the Instant Pot. I decided to do some research first so I could create for you the best Instant Pot beef bone broth recipe possible. However, after researching a ton of various recipes, my head was spinning from all of the different information out there.
[jump-to-recipe]
Varying Opinions
For some bone broth recipes, you throw it all in the pot and go, others blanch and roast first before cooking and still others blanch, roast, pressure cook, then add veggies then pressure cook some more. Some experts say you shouldn’t add vegetables, some say you should. The list of differences and varying opinions goes on and on. I even read about how the Instant Pot bone broth isn’t as good as the broth you simmer for 48 hours on the stove. After reading all of the information and opinions, I felt crazy! I was even sorry for a while that I even researched anything. But after a few weeks of letting ideas percolate through my head, I went to work in my kitchen, made and tested many batches using my own ideas and some ideas I thought were relevant.
So what method is best?
For me it comes down to time but I have to say even though I love taking my time on recipes, 48 hours of cooking and leaving the stove on overnight, is not for me. My family loves beef but we don’t need our house to smell for days of it either, nor do we want to take a chance and burn the house down.
So here’s my best recipe for Instant Pot beef bone broth that I will be using from now on. If I have some time, then I will blanch, roast, then pressure cook. If I don’t have as much time, then I will just roast and pressure cook. I do feel roasting makes a huge difference, enough to justify the time so I suggest you don’t leave out that step.
Why even make your own broth?
Why would you even want to make your own broth? Why not just buy it at the store?
Bone Broth Benefits:
- Flavor, flavor, flavor-homemade broth makes you taste like a chef. It does take some time, but it’s not hard and you can freeze your broth for later use.
- No preservatives, and less sodium (you have total control).
- It’s healthy for you! It is supposed to boost immunity, fight the common cold, fight inflammation, strengthen bones and teeth and even help to promote weight loss. All of that in a cup of bone broth! Wow! Interesting enough, the benefits of bone broth sound very similar to the benefits of drinking tea. (Many of you know I was in the tea industry for 14 years.)
[jump-to-recipe]
What are the differences between stock, broth, bone broth and consomme?
I’m sure you’ve heard the terms: stock, broth, bone broth, and consomme. So confusing! Is “Bone Broth,” just the new fad going around?
Here are a few definitions:
Stock – is actually very concentrated because it is made with lots of bones, simmered for hours, sometimes days on the stove and you use it as a base for soups, sauces, etc. A good stock is viscous from the breakdown of collagen in the bones and cartilage and should gel when chilled. That is the main difference and the fact that it is lightly seasoned.
Broth – is a more of a soup in itself. It’s lighter, less gelatinous, and is often more highly seasoned. Vegetables are often added in addition to the bones. Some people say to make it with meat, no bones.
Bone Broth – is essentially stock, but not as concentrated. Bone broth became popular a few years ago with the Paleo diet. Stock began to be called, “Bone Broth.” It sounds catchier than bone stock. My Instant Pot beef bone broth recipe is a combination of both stock and broth as it is thinner, not as gelatinous but it’s lightly seasoned. I do this on purpose so it’s more versatile and you can add it to almost anything and then add your own seasoning to your dish.
Consomme – Okay, now let’s throw in another term, “Consomme.” What the heck is that? Well it’s basically clear beef stock. It’s gently simmered with a mixture of lightly whipped egg whites and lean ground meat. The egg whites and meat congeal and act as a “raft” and collect all protein particles, leaving the stock, “clear.” That is not this recipe.
Where do I get the bones? What kind should I buy?
You can buy bones (most often frozen) at small butcher shops, some grocery stores and even online! I get mine often from Skagit River Ranch where I buy 1/4 cow every year. They just throw them in with my order. How nice! You can also save your own bones from your cuts of meat. I don’t often have too many bones as I buy most of my meat, “boneless.”
As to what kind to buy, I like to add a mixture – beef, pork, lamb, oxtail, whatever I can find. I think a mixture tastes best for broth. No need to stick to one kind.
Why and how do you blanch bones before making stock/broth? Do I have to do it?
Blanching gets rid of any impurities that give your broth an off flavor. It also makes a clearer broth, It’s easy! Basically you just add your bones to a pot. Cover with cold water and boil for 20 minutes. That’s it! You will see “scum,” and “foam,” rise up to the top, those are the impurities. Just skim it off. Remove the bones when done and proceed to roasting.
Of course there are different opinions on the need for blanching. The foam (scum) can sometimes give broth an off flavor depending on the bones.
My rule of thumb, if I have time, I blanch, if not, I don’t. I have made many broths without blanching and they turned out just fine, no “off,” flavor. So it’s up to you!
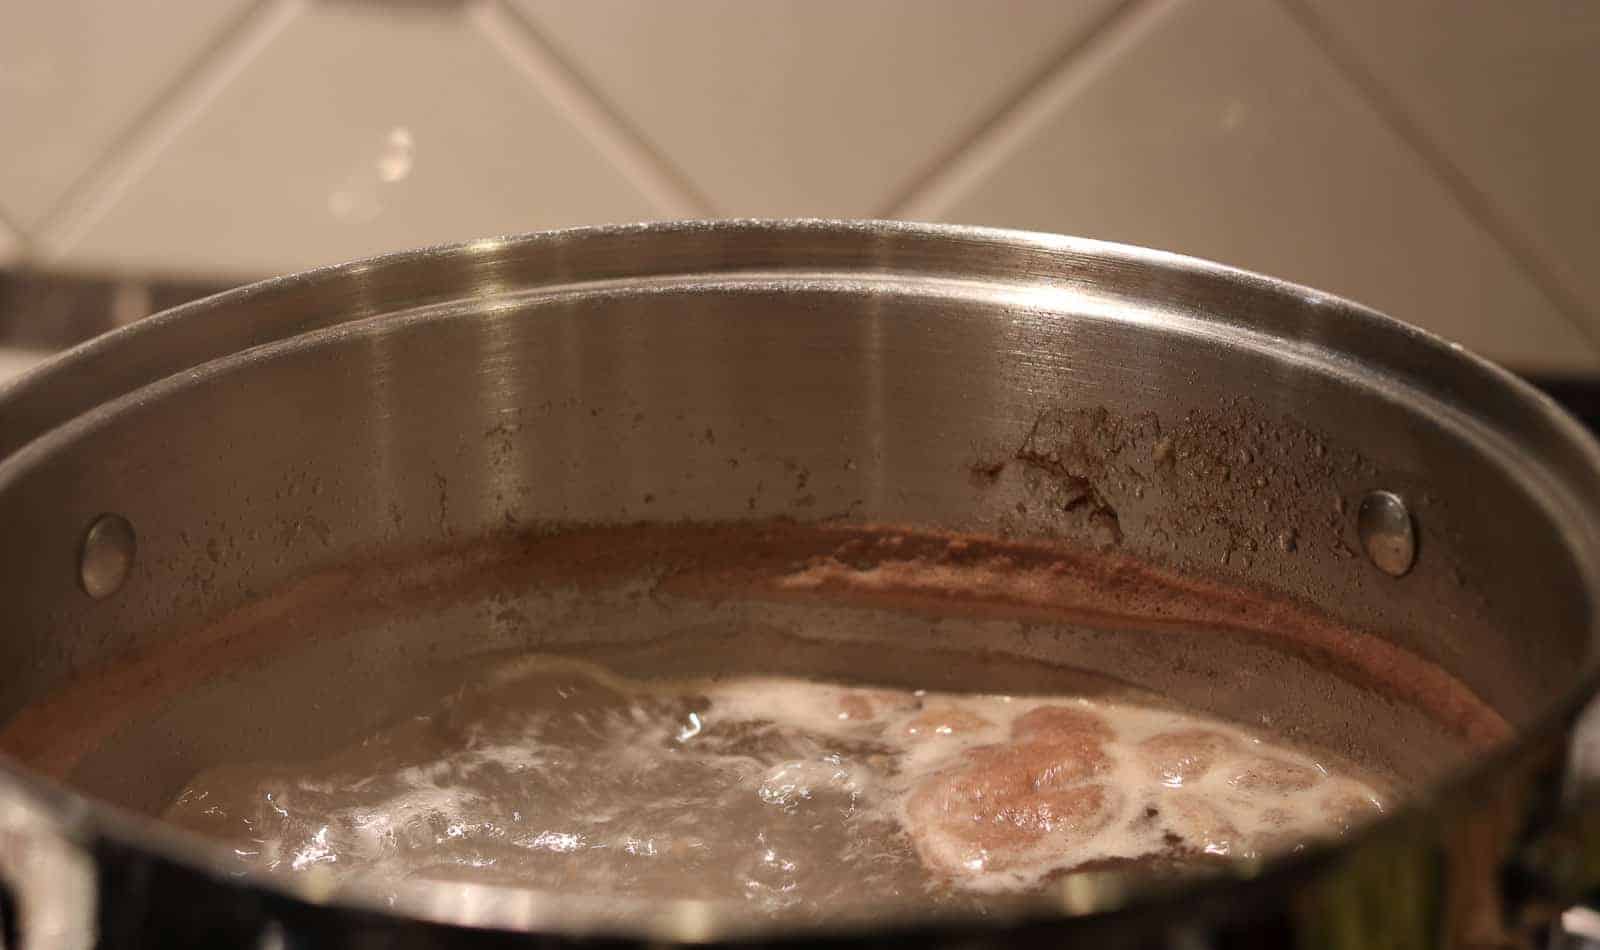
Blanching the bones removes the impurities-the yucky stuff!
Should I roast the bones first?
Now on this subject, I have a definite opinion about. Yes, roast the bones! It matters! It adds tons of flavor in my opinion so it’s worth the 45 minutes of roasting time.
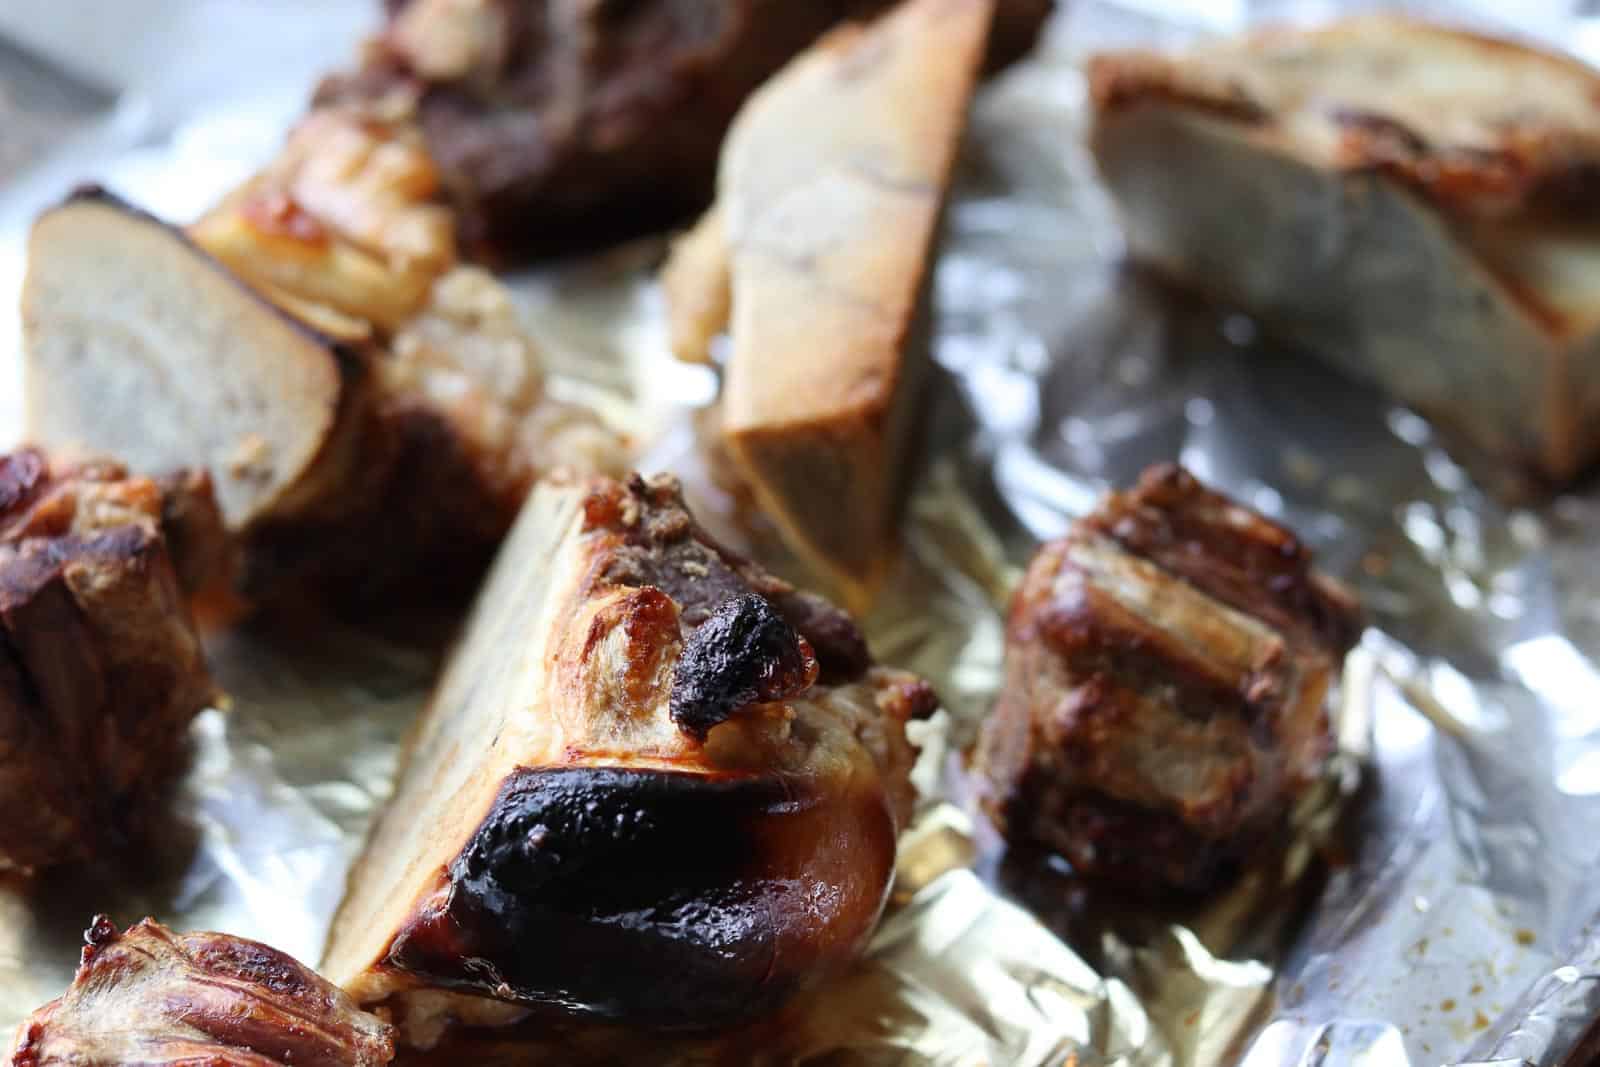
Roasting the bones is a must! It gives the broth a rich flavor.
What is the purpose of using vinegar and why does it need to sit?
Vinegar helps to extract the minerals from the bones. Be sure to allow the bones to sit in cold water with vinegar before you heat up your Instant Pot. If the bones are hot, the pores are closed and the minerals can’t be extracted. Although some say, let it sit for an hour or two, because the Instant Pot has to heat up, I think at least 30 minutes is fine. And don’t worry, you won’t taste the vinegar, but use an apple cider vinegar. White vinegar is too strong.
[jump-to-recipe]
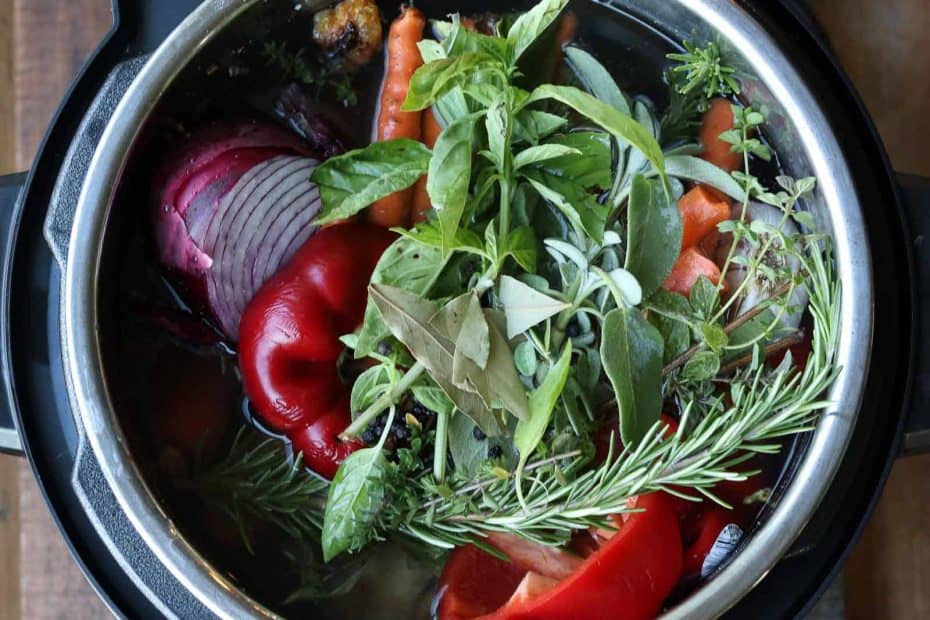
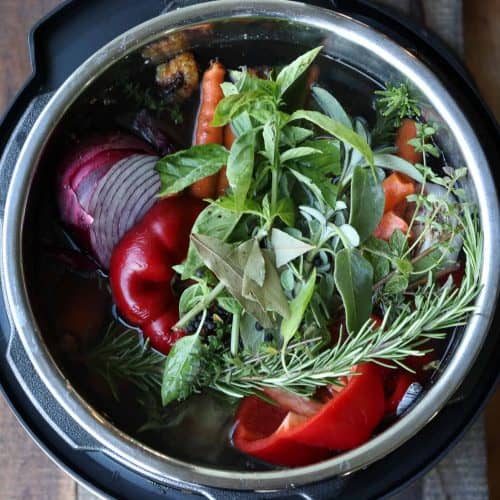
What vegetables should I add to my bone broth?
You can add pretty much any vegetables/scraps but stay away from broccoli, cauliflower, brussel sprouts, and hot chilies as they can overpower your broth and make it taste bitter. Some people save their veggie scraps and put them in the freezer. When they get a bag full of scraps, they make broth.
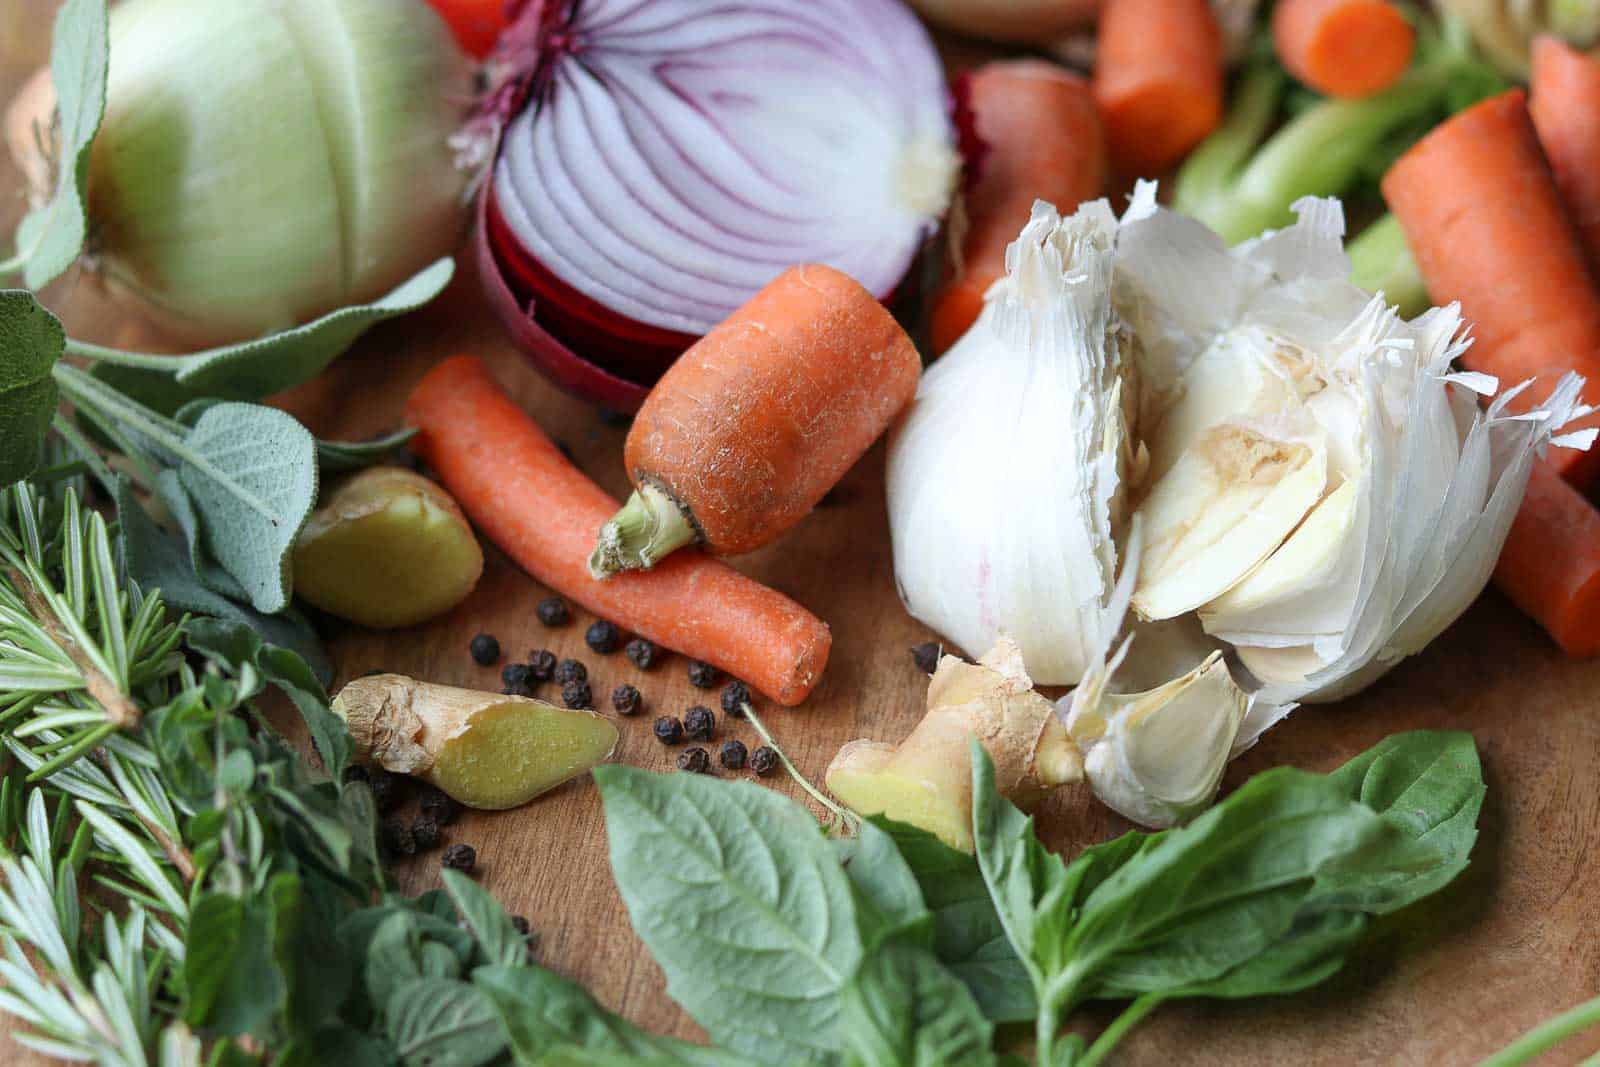
You can use pretty much any vegetables, except broccoli, cauliflower, and hot peppers. Veggie scraps work great too! No need to waste time and cut them up fine, rough cut is great as you will strain it all anyway,
If I don’t have time to make it, is there a list of the best bone broths you can buy?
I did a bit of research on that as well because sometimes you need to be able to buy it. Here’s an article I found on the 5 Best Bone Broths You Can Buy Off the Shelf. They even describe the different broths which I found helpful.
Cooling your finished broth-this is important!
After your bone broth is finished, strain it and pour it into 2 containers so it cools faster. Bacteria grows very fast if the broth is left to cool as an entire pot in the refrigerator, so you want to cool it as quickly as possible. The next day, I like to skim the fat off the top and then package it in 1 and 2 cup vacuum sealed bags (paid link) and pop them in the freezer for later use.
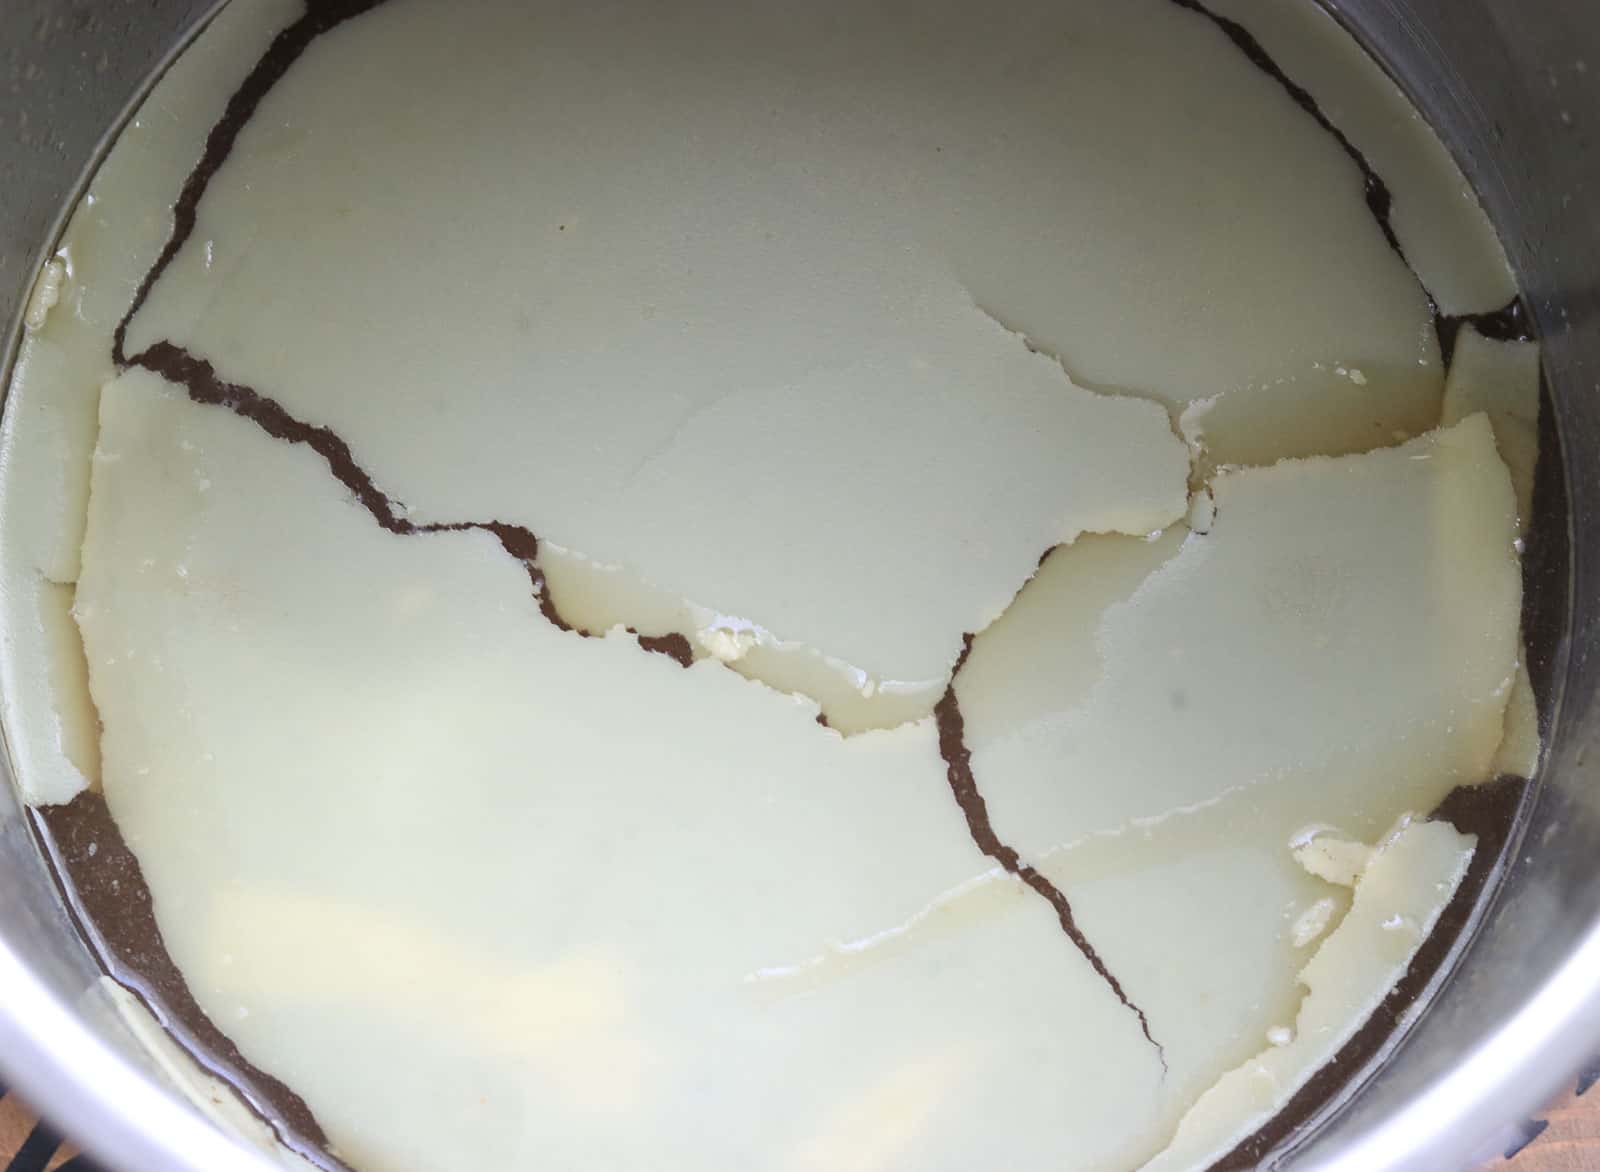
Allow the broth to cool overnight and then you can make your broth essentially “fat free,” by removing this layer of fat.
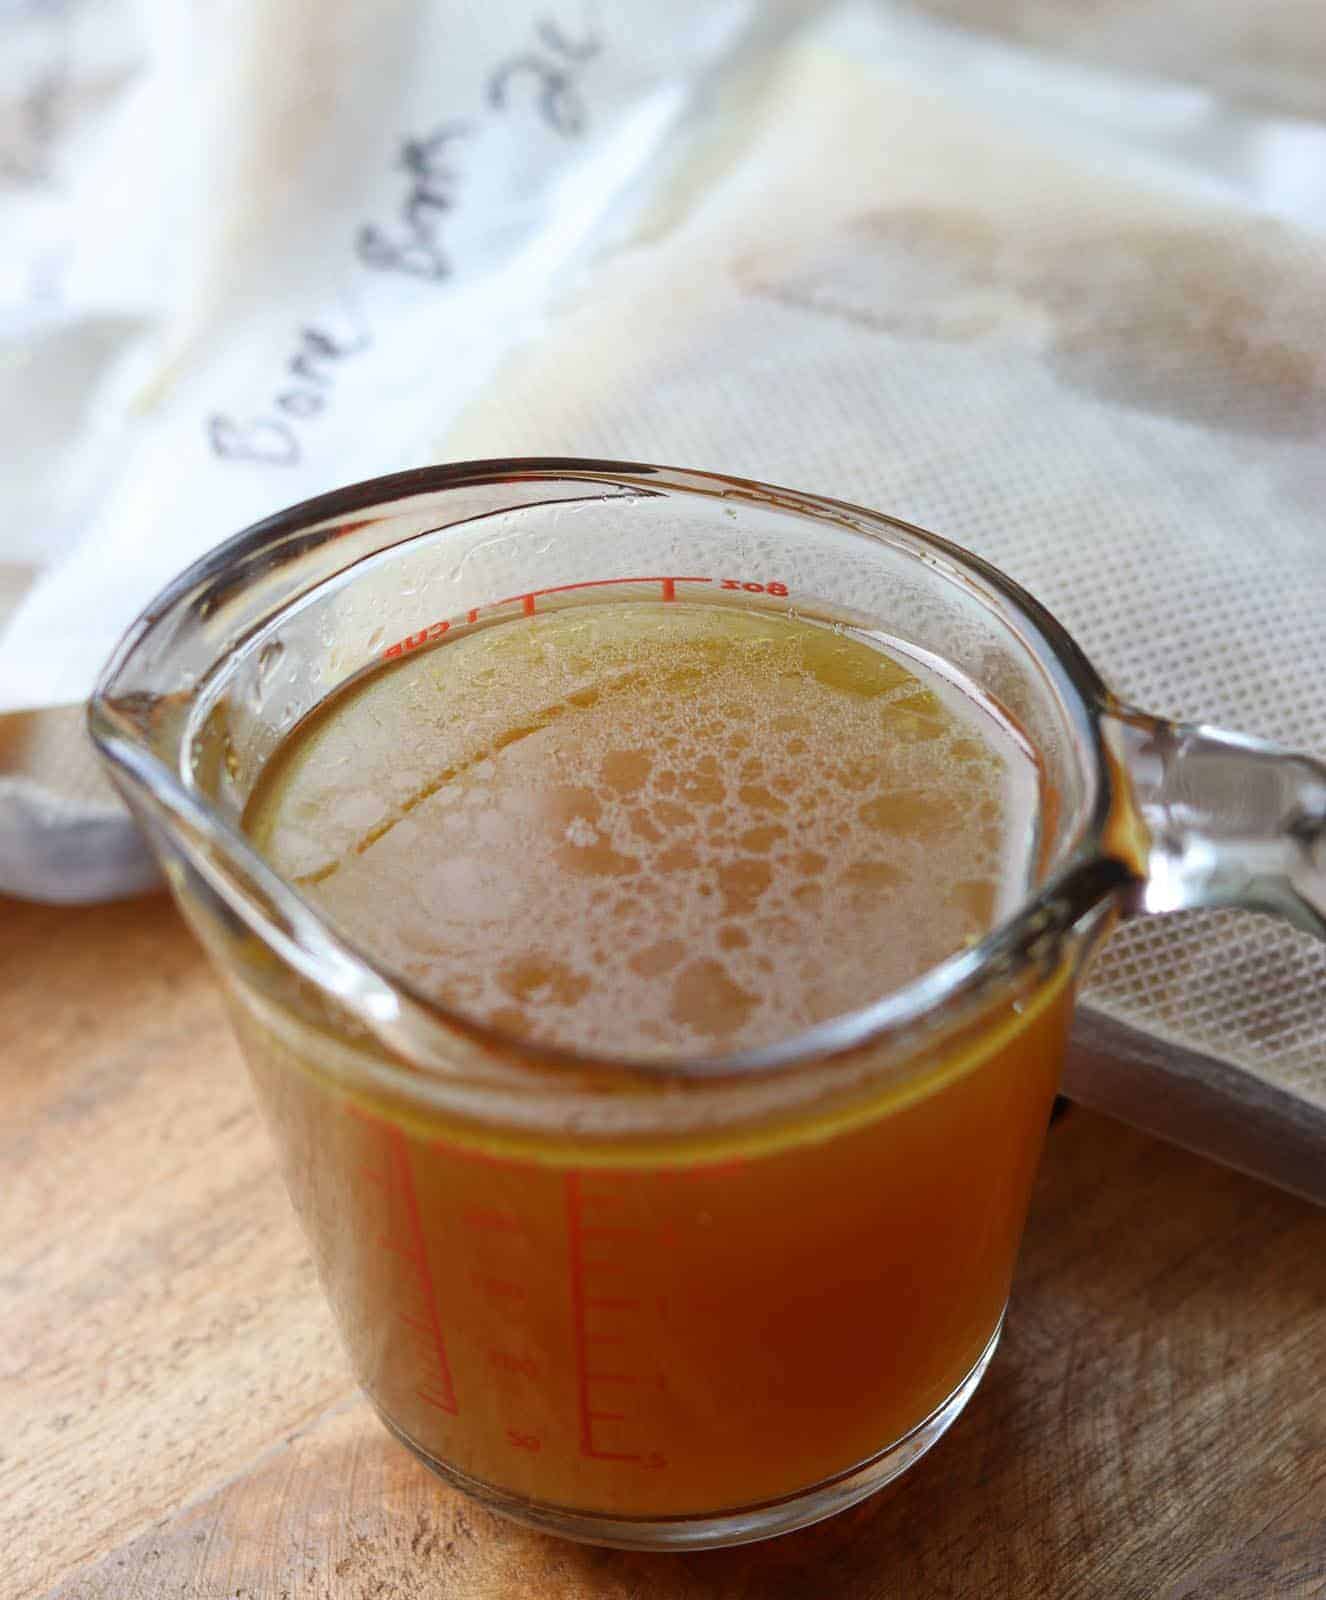
I love to freeze my bone broth in 1 and 2 cup bags, then I have it whenever I need it.

Healthy Instant Pot Beef Bone Broth Recipe
Ingredients
- 3 pounds assorted beef bones get at butcher shop
- 1 chicken foot if you can find them, often in frozen section, adds a good "mouth" feel to the broth
- 1 celery stalk rough cut in big pieces
- 1 onion cut in 1/2, leave skin on
- 3 carrots rough cut in a few pieces
- 1 head of garlic cut in 1/2 (leave skin/paper on, cut in 1/2)
- 1 2 inch piece of ginger roughly cut
- 1 T. kosher salt
- 2 T. black peppercorns
- 2 bay leaves
- assorted fresh herbs whole-(I like to use rosemary, thyme, basil, sage, parsley)
- 3 T. apple cider vinegar to extract out minerals in the bones
- about 8 c. water or more fill up Instant Pot to max line
Instructions
- Preheat oven to 425°.
- Place the bones on a baking sheet and bake for 45 min until brown.
- Place hot bones (carefully) in Instant Pot. Add bits of brown scraps from baking sheet, if there are any but leave the fat/grease.
- Add remaining ingredients and fill liner up to almost max with cold water.
- Allow to sit for at least 30 minutes but an hour is best. The vinegar will help extract out the minerals in the bones.
- Cover with lid. Set to Sealing.
- Press manual or pressure cook and set time to 180 minutes. If your Instant Pot doesn't go to 180, do 120, it will be fine. My 6 qt doesn't go that high so I do 120 if I make the broth in that size pot.
- When finished, allow to naturally release. Divide into 2 pans so the broth will cool faster. If your broth didn't make 10 cups, then add ice. This will cool it down faster as well.
- Cool in refrigerator overnight. This allows the thin layer of fat to rise to the top and you can easily skim it off. If you don't mind the fat, you can use it right away.
- The next day, break off and skim the layer of fat and throw it away. Put broth in vacuum sealed bags and freeze flat until needed. Or try the Souper Cubes !

Great blog post Amy. Thanks for doing all the research. This is a wonderful basic recipe.
Thanks Sherry! Hope you enjoy it!
I really enjoyed making this recipe without too many ingredients. Bone broth came out rich and extremely flavourful.
I’m so glad you liked it!
Can I add ground pepper if I don’t have pepper corns
Yes! Just add ground pepper to taste. Enjoy!
Can you use frozen bones or should they thaw first before roasting?
You can use frozen bones, but I would add at least 30 minutes to roasting time.
If not using an Insta pot, how much water do I add to the recipe? Do you roast feet?Making this tonight
Sorry for the late reply, I’ve been working on my Instant Pot Turkey and Gravy video all day. Just fill up the pot as much as you can with water. No, I don’t usually roast the chicken feet. If you are doing it on the stove though, it will take much longer. Some people do it for 48 hours on the stove overnight on simmer. It takes a while to extract the minerals from the bones. I don’t leave my stove on overnight though for fear of fire, thus the reason I like the Instant Pot.
My pressure cooker/instapot only goes to 99 minutes? Do you know if it’s okay to cook to 99 minutes, release, and then start the instapot again for the remaining time? Also, my instapot has a low or high setting. Assuming it is cooked on high? Thanks!
Yes you can totally do that. ?on high.
What 3 quart size instant pot is this for? I have a 3 quart one.
This recipe is for a 6 or 8 qt size Instant Pot.You could half the ingredients and probably do it in a 3 qt. pot. Just be sure and only fill the pot with enough water to go to the max line.
Confused…do I use 8 cups water or fill to top with water. Mine holds 16 cups😊
If your Instant Pot holds 16 cups, fill it to the max line so you get more broth. I’ll rewrite that later so it’s more clear. Thanks for commenting! Enjoy your broth!
Love this recipe! Hubs is on a low sodium diet, so I make this with minimal salt (not the full tablespoon, and freeze it. Soooo much better than store bought. Ridiculous how much salt is in the store bought stocks.
I’m so glad you love the recipe. It’s one of my favorites and is so handy in the freezer when you need it. Thanks for your comments!
Is the T in your recipe for tsp or Tbsp? Hope I didn’t ruin it
T. is an abbreviation for Tablespoon. t. is the abbreviation for teaspoon. No, I’m sure you didn’t ruin it at all. It’s pretty forgiving!
does the caloric breakdown take into account the fat removal ?
No it does not. The caloric breakdown on this recipe is just really an estimate anyway since it all depends on the fat amount on your bones. If they are meatier bones, they will obviously have more calories and fat. But if you remove the fat that solidifies on the top, the day after, you’ll at least take away a few more calories for sure!
Question about your calories: based on your nutrition calcs, removing the fat only takes away about 100 calories per serving. I’m surprised that a serving would still be almost 200 calories! Store-bought “bone broth” is usually about 45-50 calories per 8 oz, and has about 9-10 grams of protein. What is it about your recipe that has 37g protein per serving? I’m a strict macro counter on a keto lifestyle, but I’m tired of throwing $$ away on store-bought stock!! Thank you!
The nutritional calculator (Nutrifox) I use is just a best guess when it comes to bones. It all depends on how much fat/meat are on your bones and which kinds of bones you use. I put in 3 lbs of beef bones in the calculator and 1 oz of chicken foot. So I’m not sure if my bones are meatier than the store bought brands. Unfortunately when you use beef bones, it is not an exact science.
Thank you so much! I’m going to make this recipe anyways, it looks like the tastiest I’ve seen on the interwebs, haha.
You’re welcome! It is very tasty! I’m actually making it later today as well as the Parmesan chicken broth because I can’t stand to use store bought broth anymore. 🙂 Enjoy!
Do you use the blanching water in the instant pot after removing the scum or discard?
If you blanch, then you want to throw away that water. That will get rid of the scum.
I’m hoping to make this on the weekend. I don’t have an InstaPot, would my 6 qt crockpot work? Obviously won’t seal.
Thanks,
Heather
Yes you can make it in the crock pot, but it will take a lot longer. I haven’t made this exact version in the crock pot but if you put it on low for 12 hours, that should work.
Thanks! I’ll let you know how it turns out.
Turned out fabulous! I did it for 16 hours on low in my slow cooker. No garlic (allergic) but I did add a leek. Will definitely do again.
Thanks! Heather